G-Code Artist
Sept. 23, 2022
Topics: 3D Printing, Python
A few months ago, I was inspired by a video from one of my favorite YouTube creators, Stuff Made Here, who made a video wherein he made a robot and programmed it to paint his wall. Long story short, he took a picture, translated that in to machine commands, and the machine used dots drawn by spray paint to create an image on the wall! Super cool.
I do not have a wall that large, resources that great, nor time that extensive so I created my own mini version of that project using my 3d printer and a sharpie. The code uses python and pillow (a python image library) to import an image, scale it to size, and generate g-code to make a 3d printer draw an image using dots from a sharpie. The depth of the stroke of the sharpie determines the dot size.
Check out the code here! After generating the G-Code and placing your paper on your printer bed, you need to position the sharpie over the center and use the G92 command to set that position as (0, 0, 0).
Things still to be figured out:
- Fine tuning contrast
- Better paper to reduce ink dots bleeding
- Better alignment of paper and printer axes
- Better translation of dot size to sharpie stoke depth
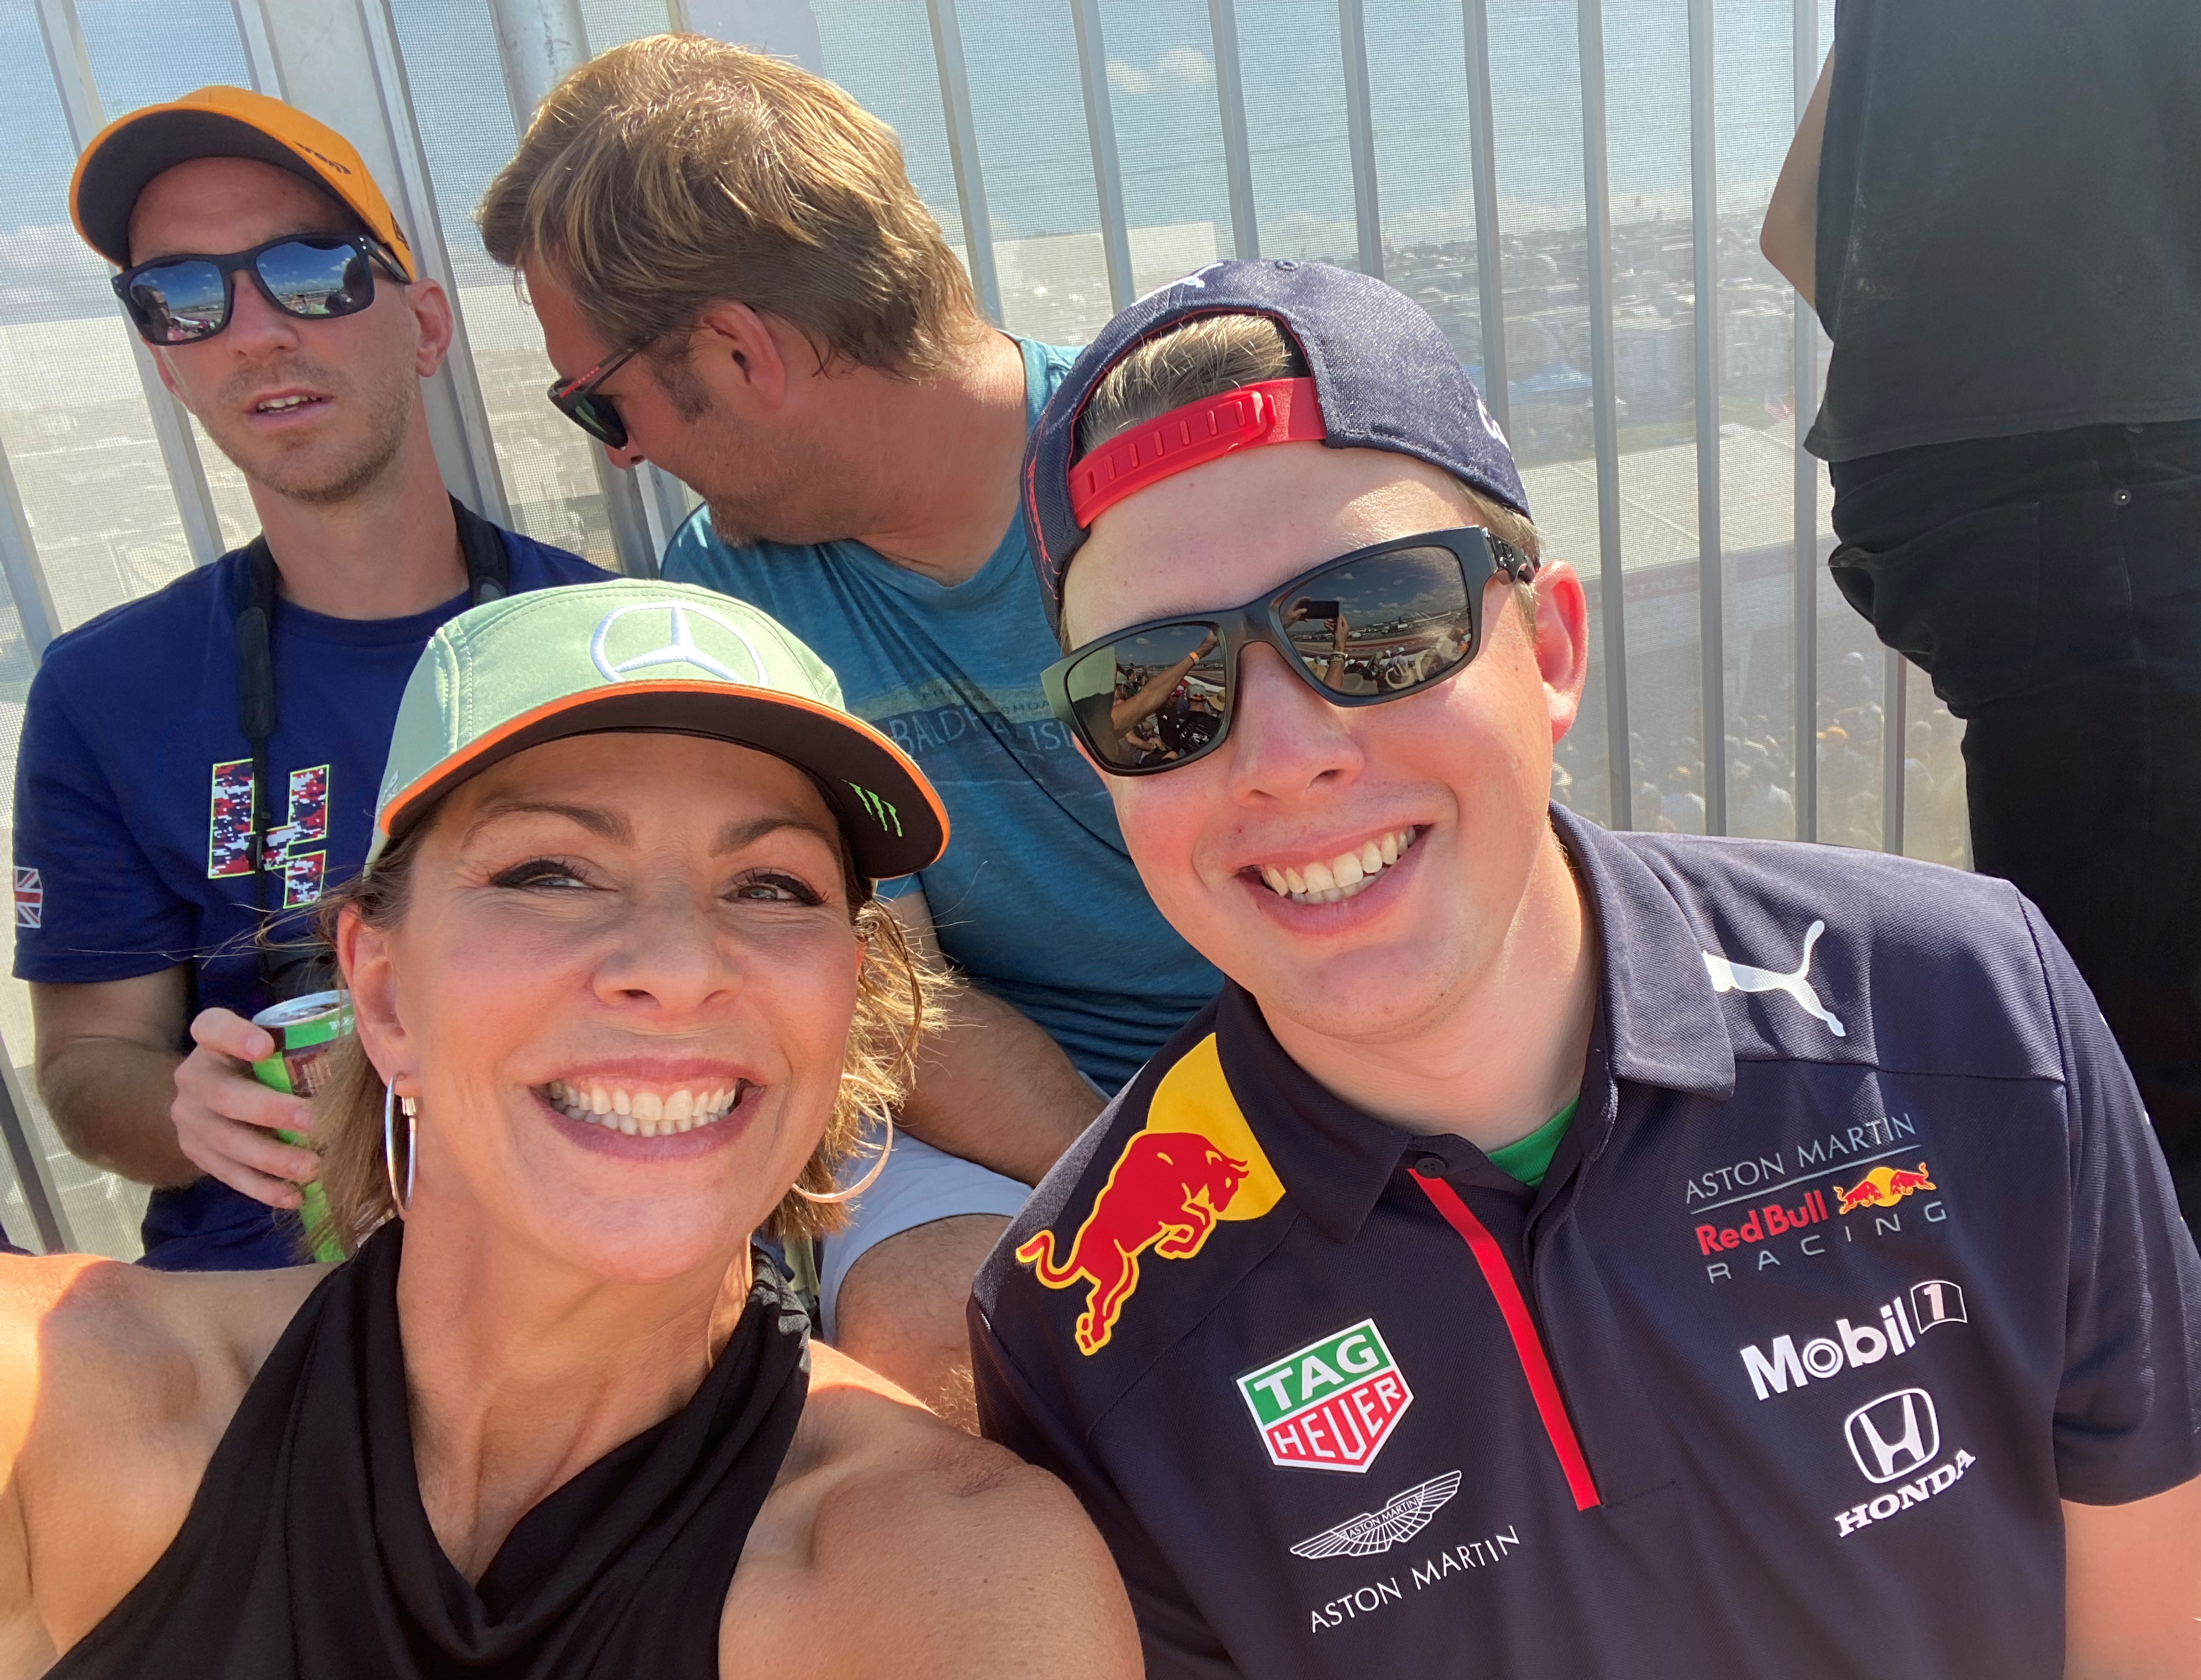
Original image:

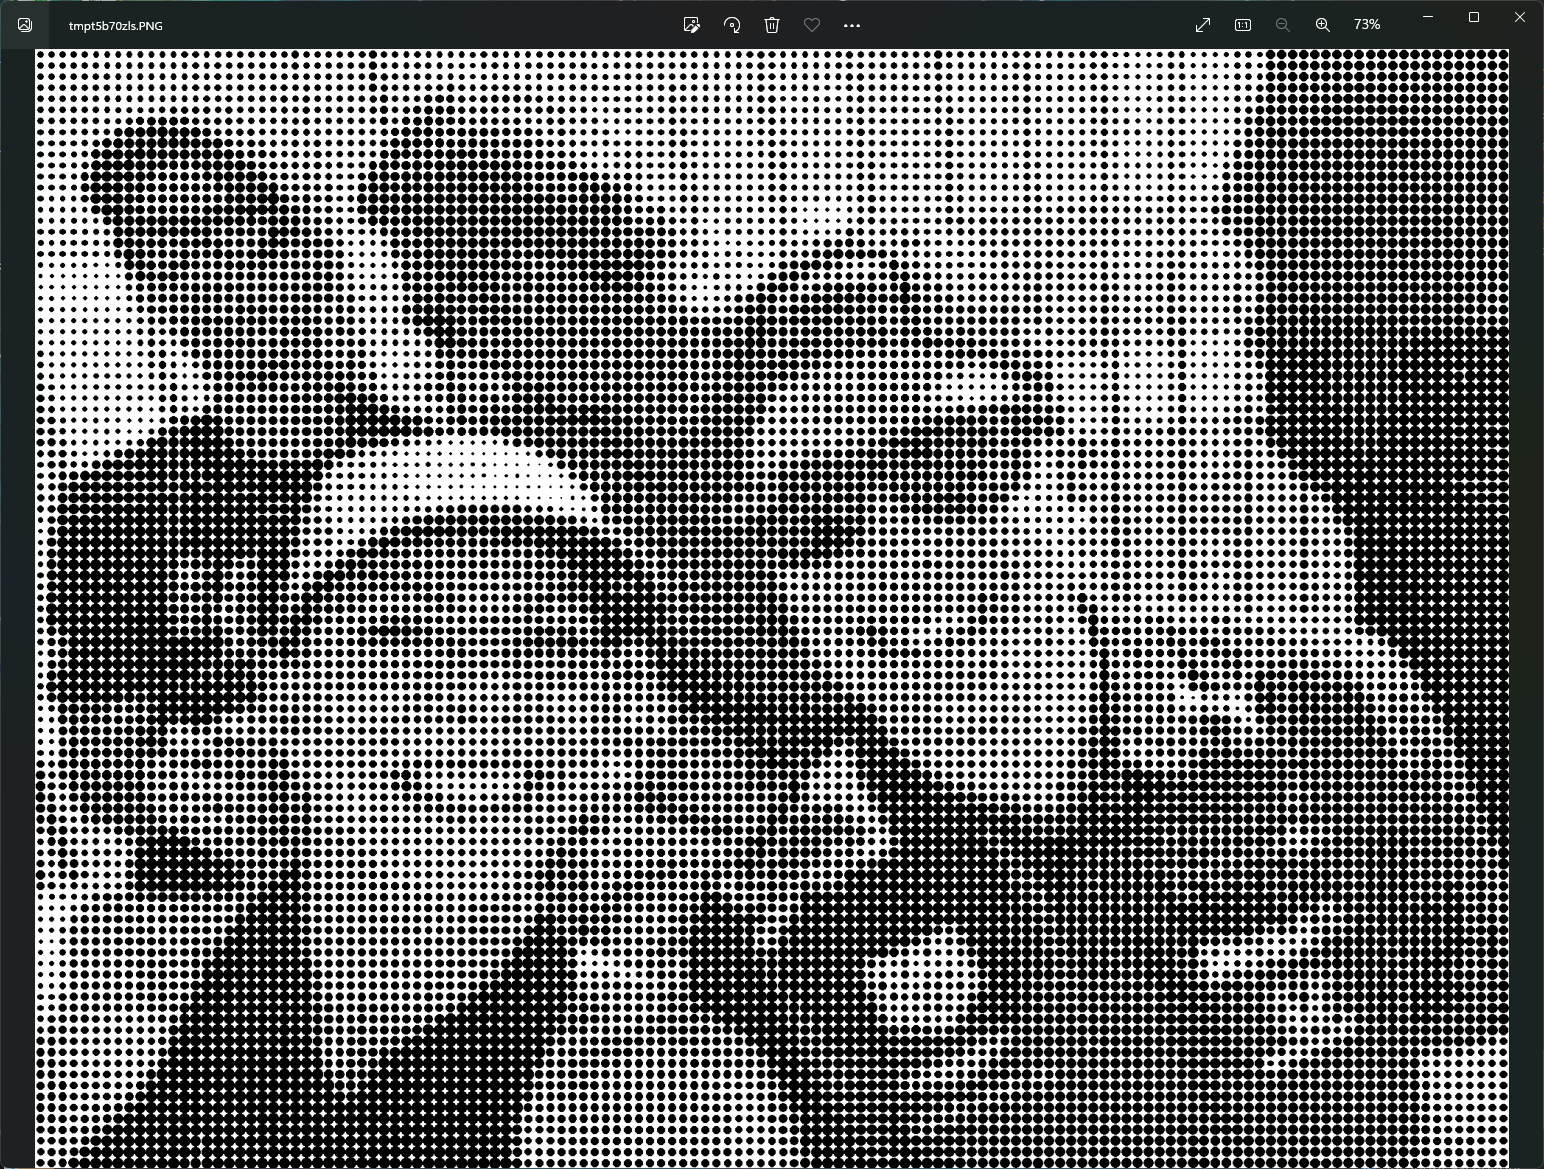
Preview image generated by the python program simulating the output:

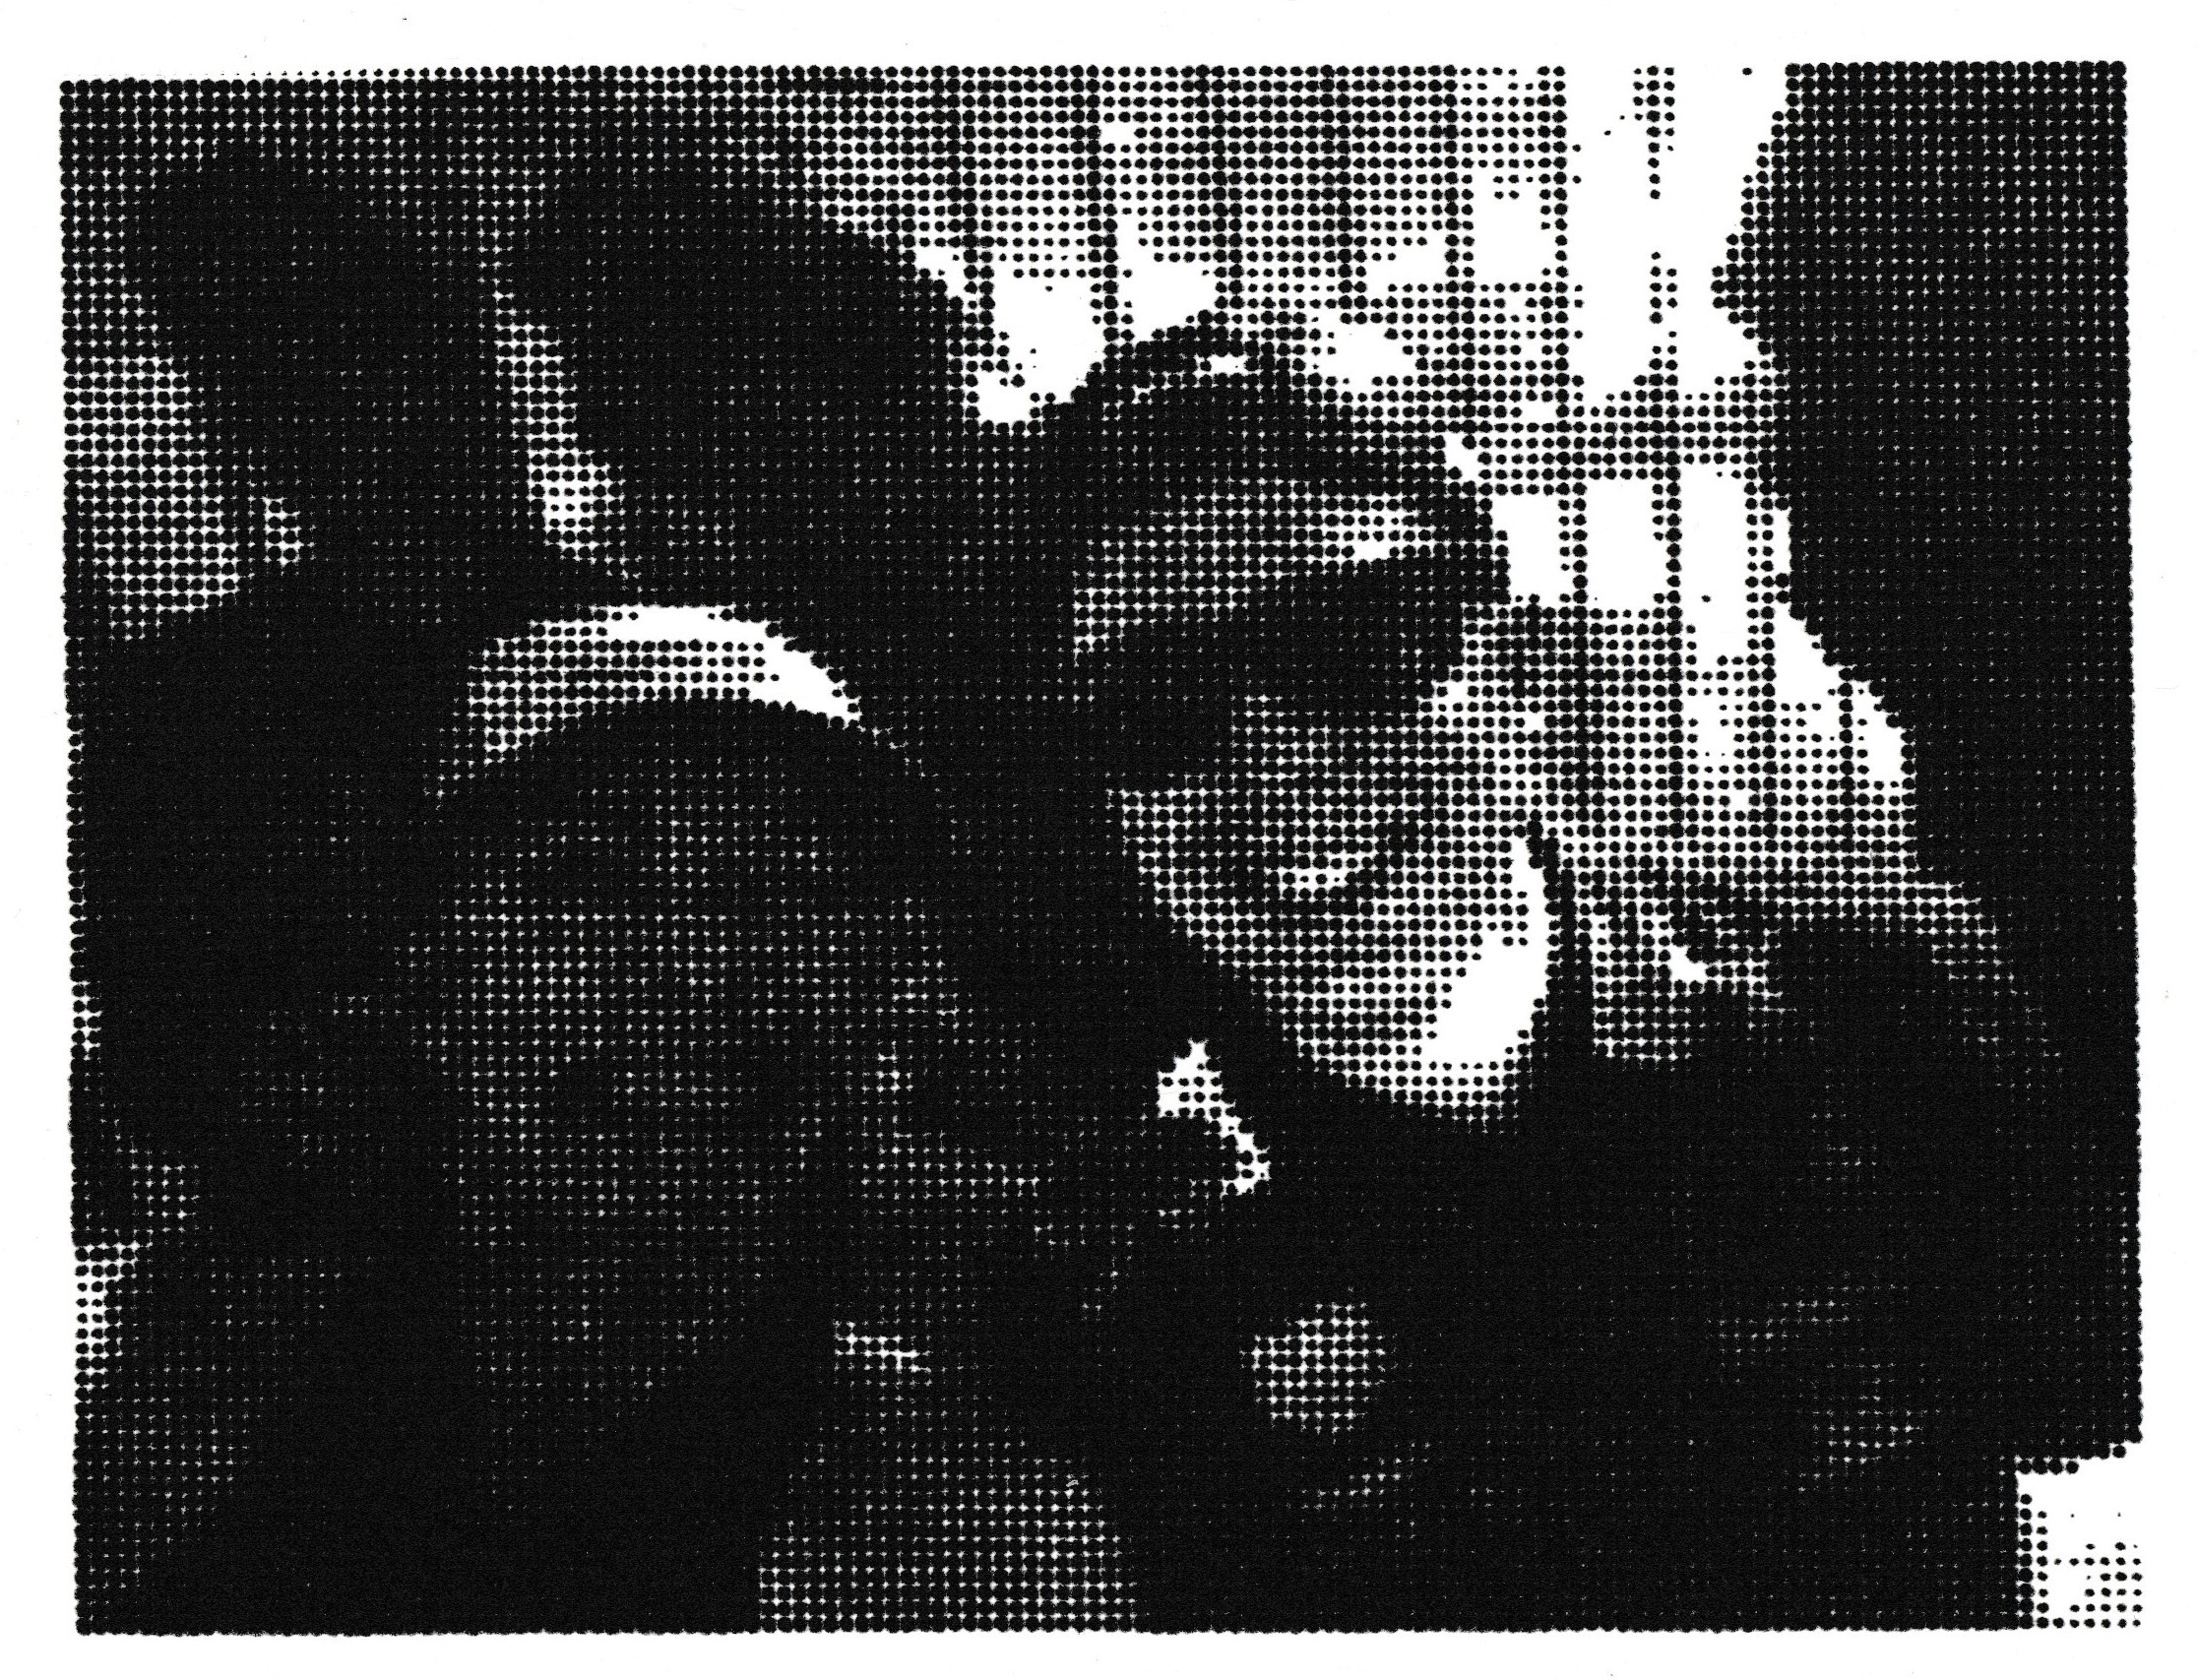
Scanned image of final output:
